Creating a FreePBX instance on Vultr
-
-
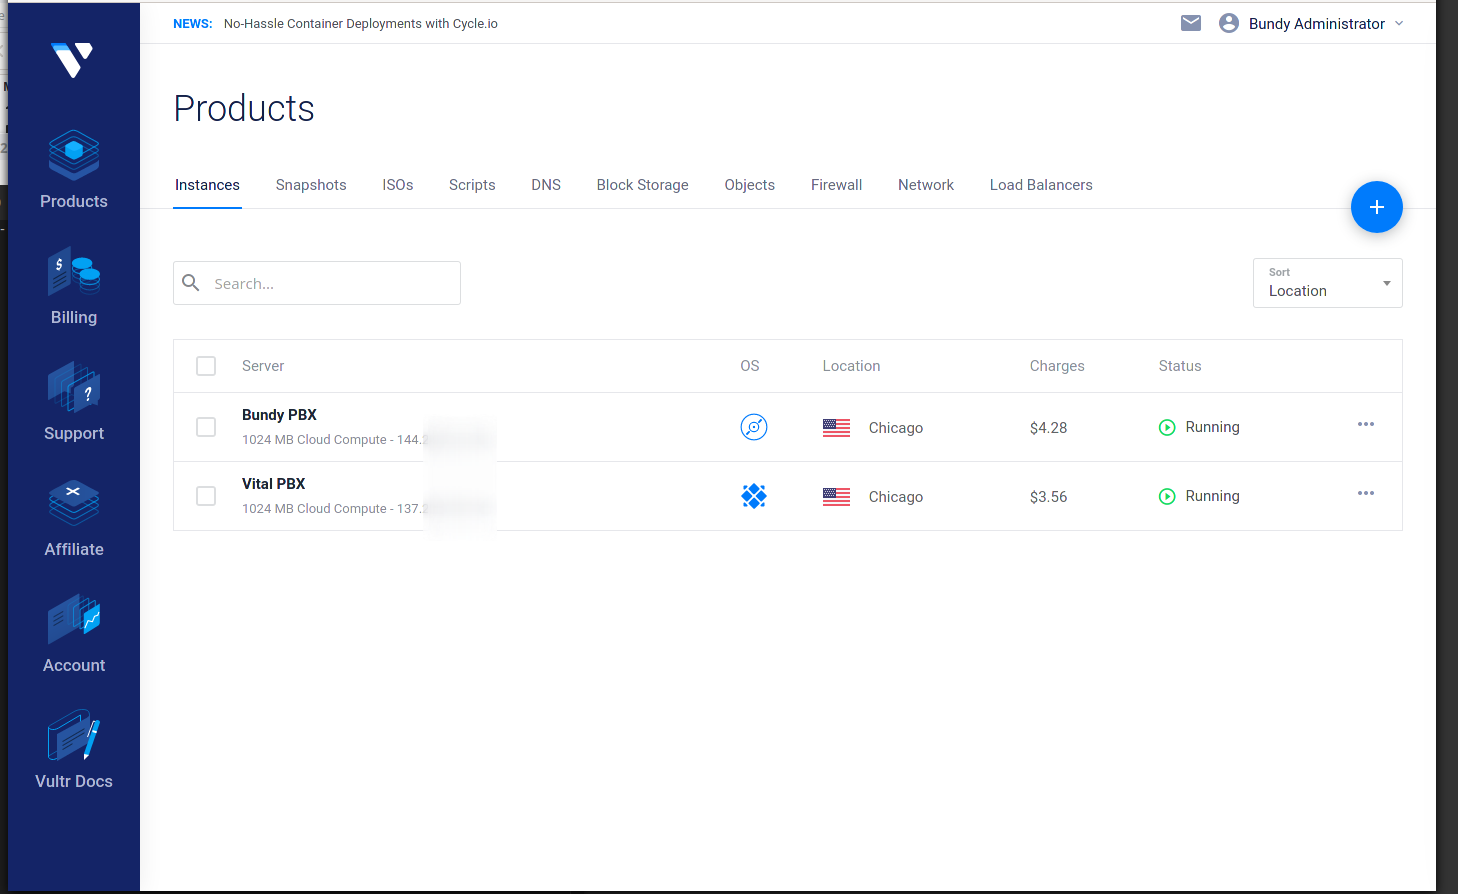
Log in to your Vultr account. You will be presented with your existing instances, if you have any.
https://my.vultr.com
-
On the upper right of the page will be a blue button. Click on it to deploy a new instance.
- If you mouse over it, you will see that there are more options, but the default action on this screen is to deploy a new instance.
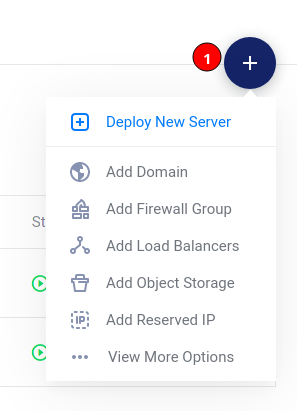
- If you mouse over it, you will see that there are more options, but the default action on this screen is to deploy a new instance.
-
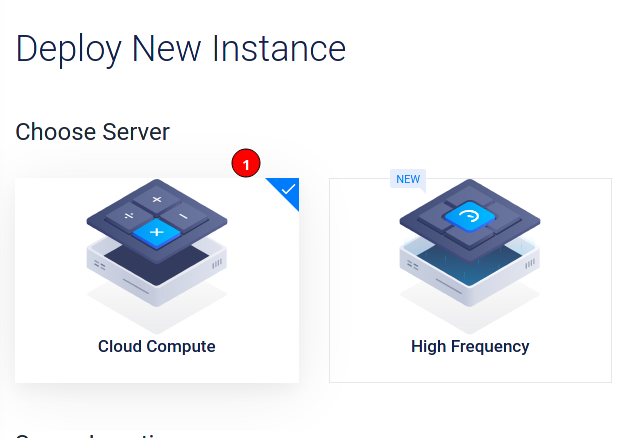
Under the Choose Server heading, ensure that Cloud Compute is selected.
-
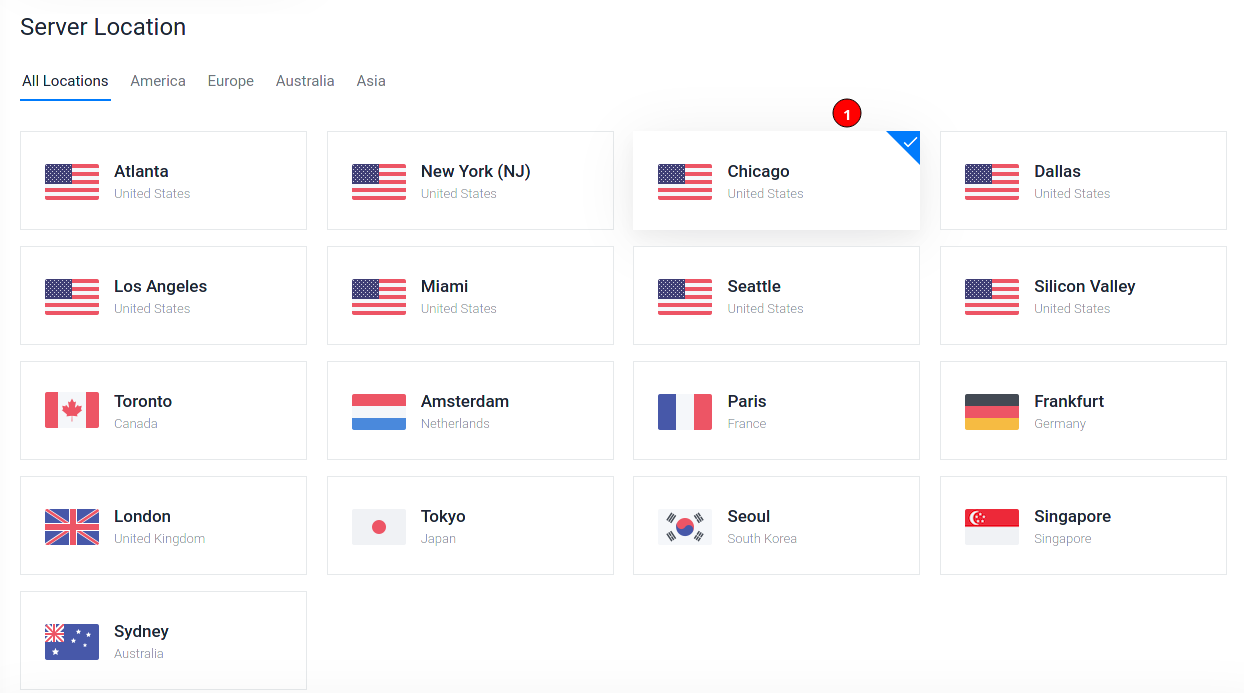
Under the Server Location heading, choose a location regionally close to where most of the phones will be, Chicago in this example.
-
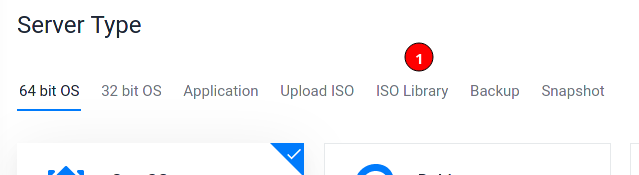
Under the Server Type heading, choose ISO Library.
-
Then look for FreePBX, there may be more than one. Choose the newest.
- The date code is YYMM-R (year, month, release in month. August 2020, release 1 in this example.
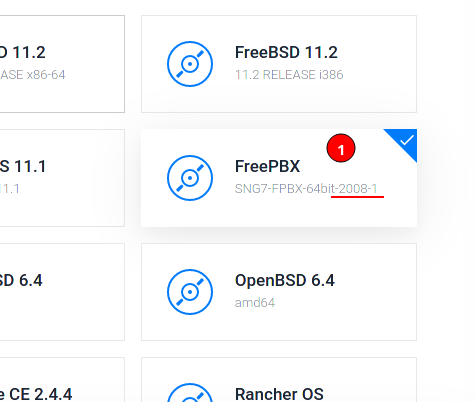
- The date code is YYMM-R (year, month, release in month. August 2020, release 1 in this example.
-
Under the Server Size heading, choose the appropriate sized instance for the PBX.
- The specific size depends on the needs of the location, if unsure, always start with the $5 instance.
- An office with ~20 concurrent calls and ~200 extensions will run just fine on a $5 instance.
- Instances can always be scaled up. They cannot be scaled down.
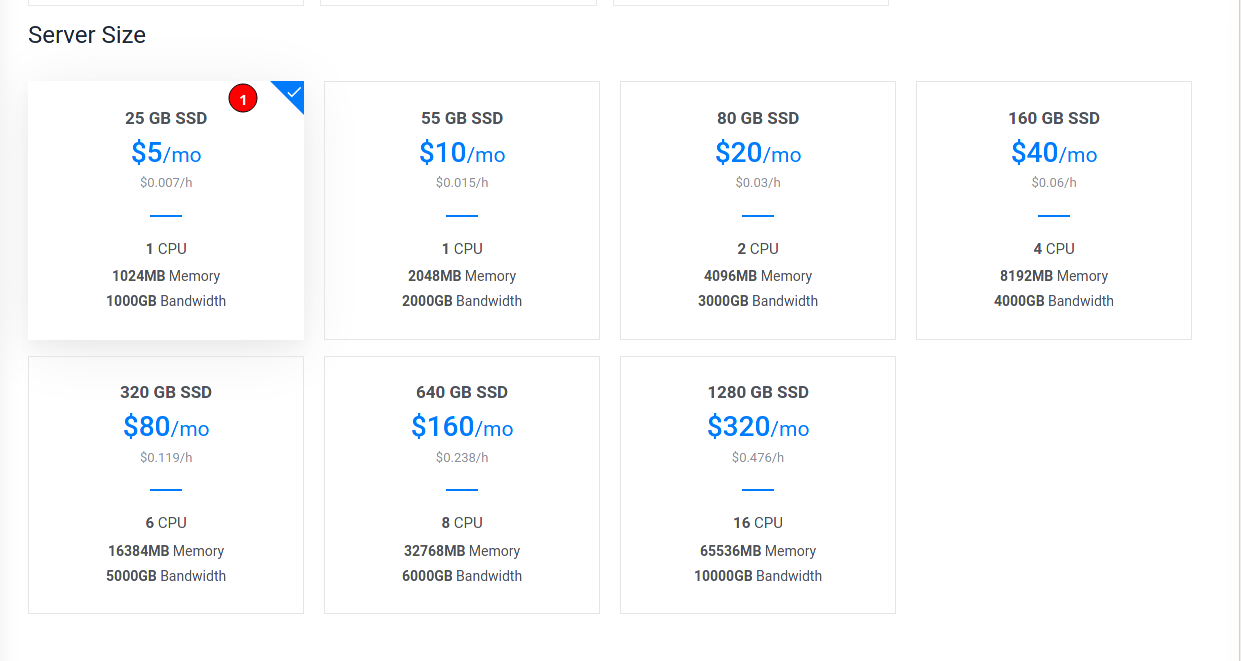
- The specific size depends on the needs of the location, if unsure, always start with the $5 instance.
-
Under the Additional Features heading, check the option for automatic backups.
- The price is based on the instance size, for example the $10 instance is $1.25
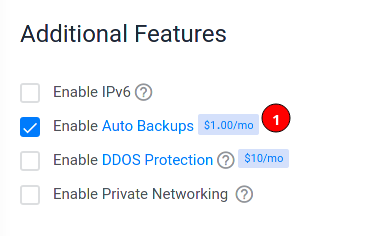
- The price is based on the instance size, for example the $10 instance is $1.25
-
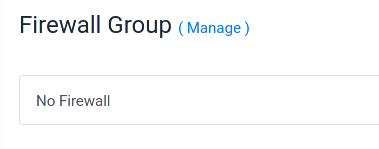
Under the Firewall Group heading, leave it at no firewall.
-
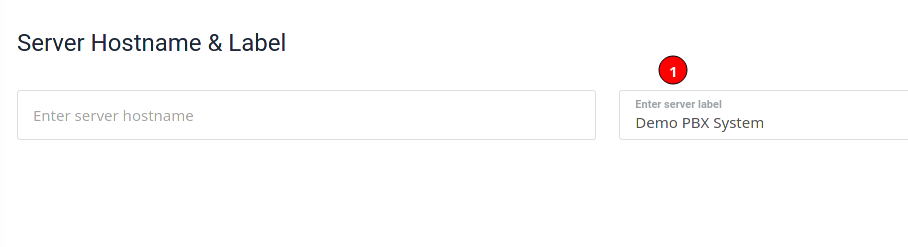
Under the Server Hostname & Label header, give the system a label. The hostname is irrelevant for FreePBX installs.
- The label is what you see in the Vultr list of instances
- The label is what you see in the Vultr list of instances
-
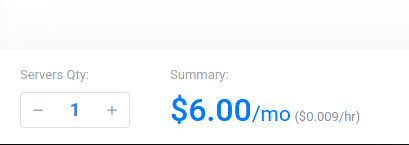
You will see a cost summary on the bottom left.
-
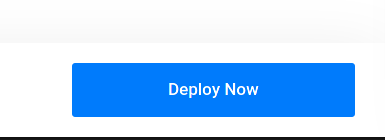
Click on the Deploy Now button on the bottom right.
-
The screen will go back to the list of instances. Your new instance will say Installing.
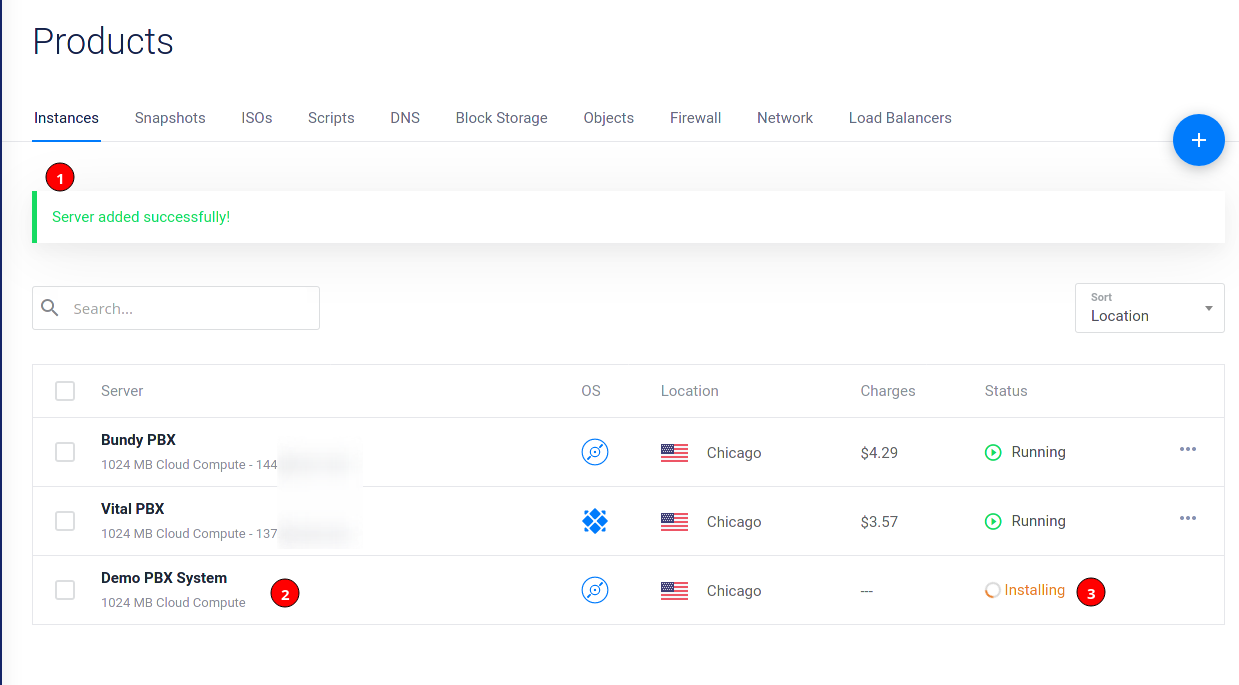
-
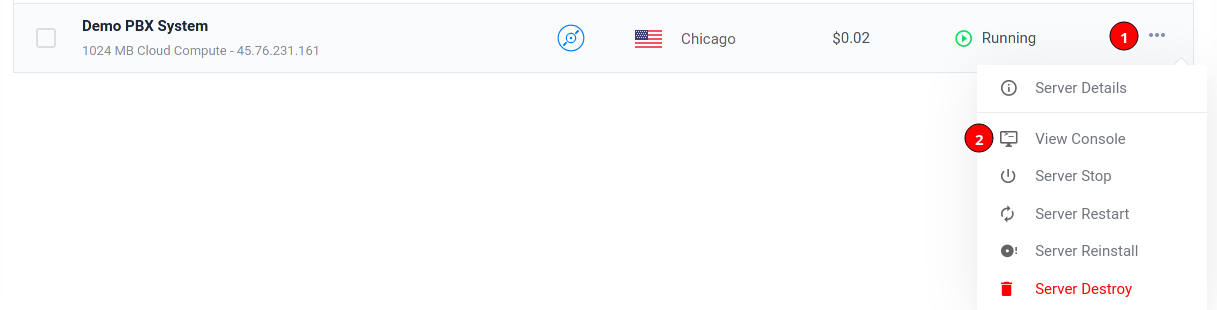
When the instance changes to running, click on the three dots to the right of the instance and then on View Console. This will open the virtual console where you will complete the FreePBX ISO Installation process.
-
The virtual console will open and you will see Sangoma's customized installation menu for FreePBX.
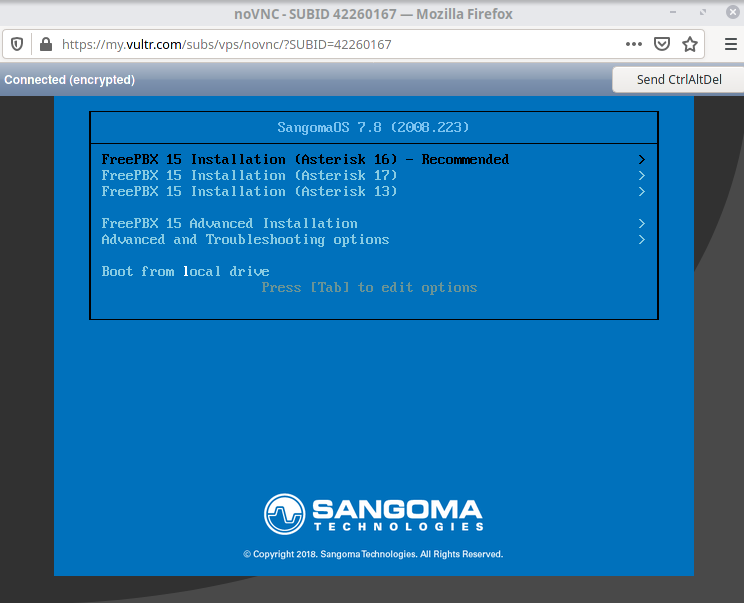
-
At this point, switch to the FreePBX ISO Installation guide.
- You will come back to this guide for a few more steps after the ISO installation guide competes the first reboot.
-
Once the FreePBX ISO Installation has completed the first reboot, you will need to remove the ISO.
-
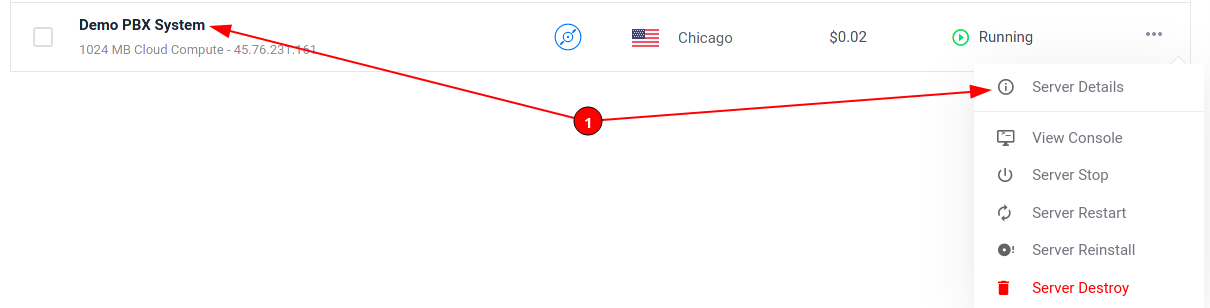
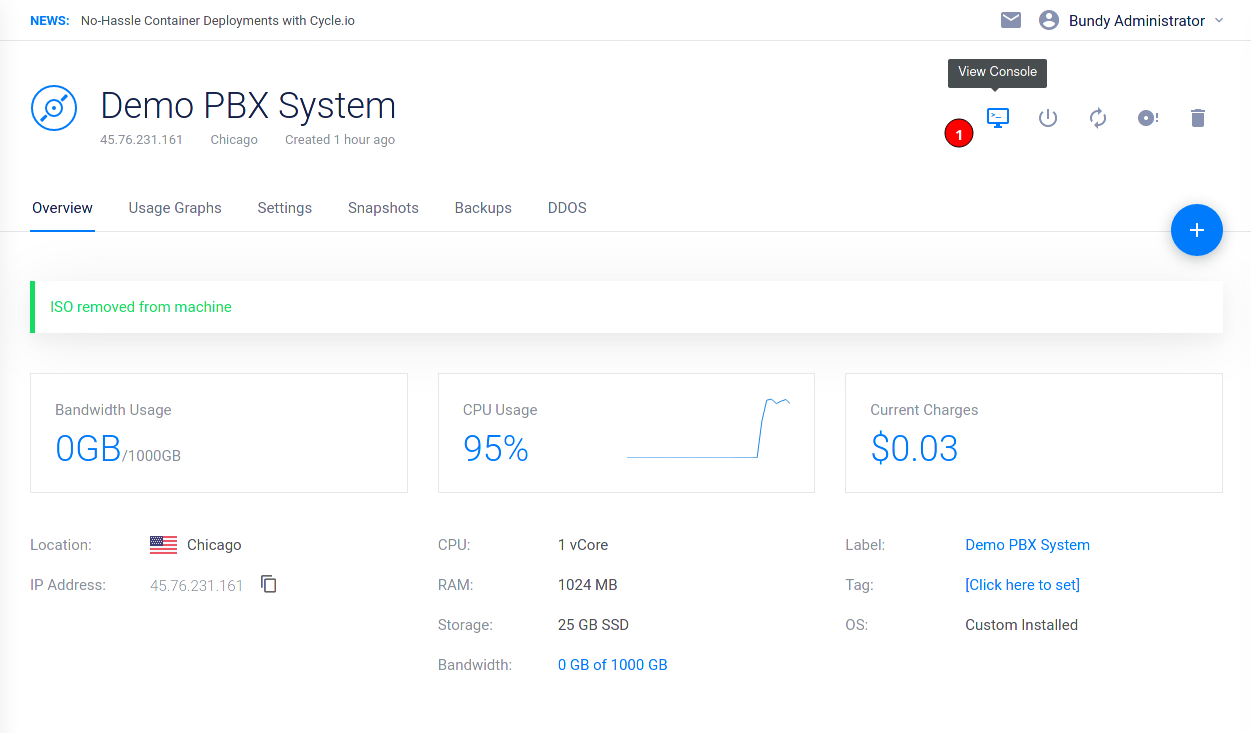
Click on the instance name or server details from the menu.
-
- Click on Settings.
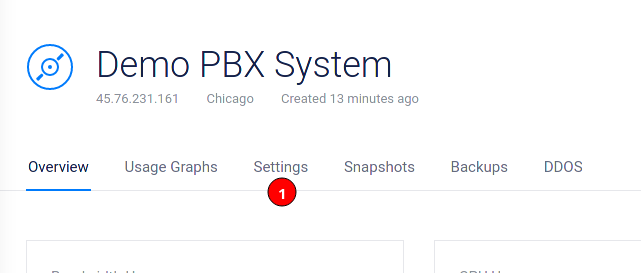
- Click on Settings.
-
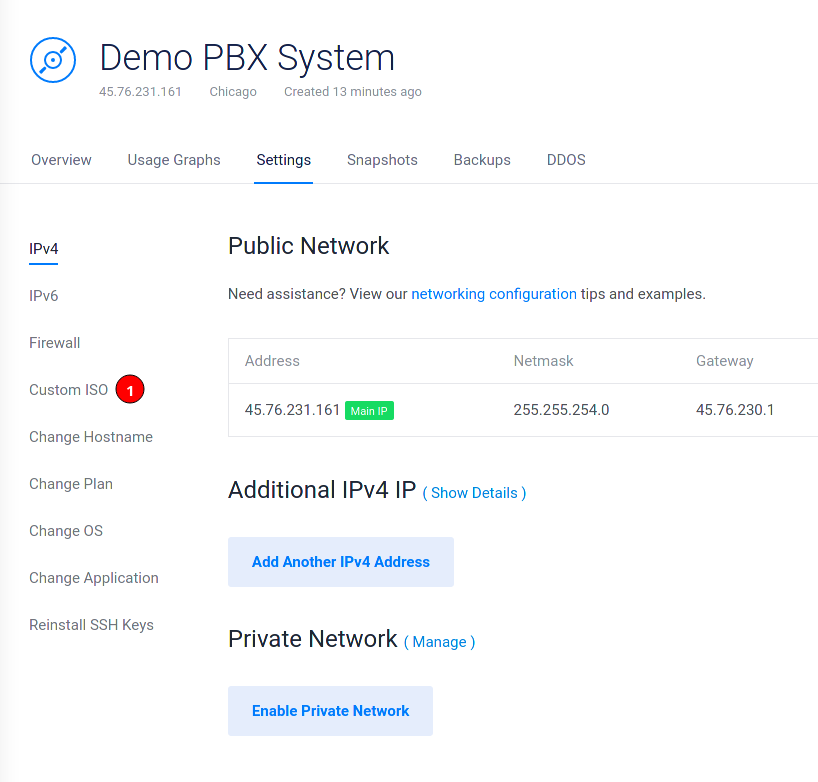
Click on Custom ISO.
-
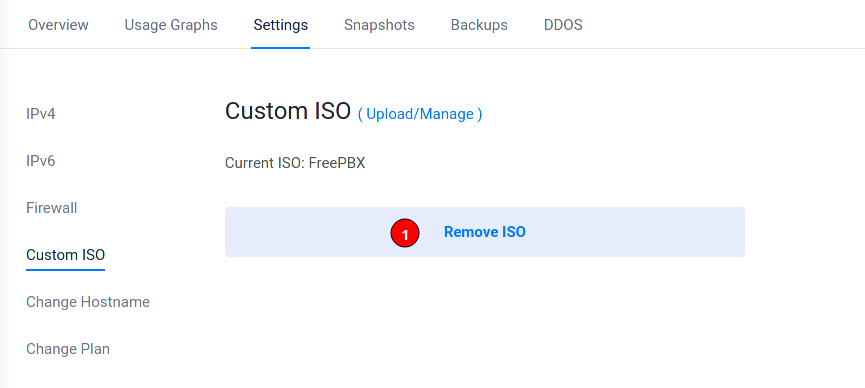
Click on the Remove ISO button.
-
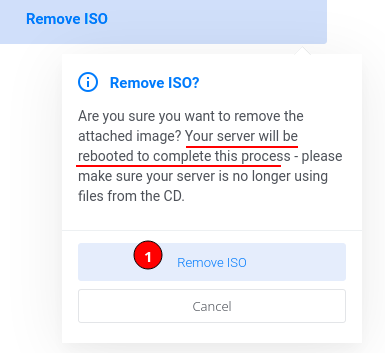
You will be prompted to confirm the ISO removal. Click Remove ISO again.
-
When you remove the ISO, the Console will look like this, close the window as you will have to reopen the console.
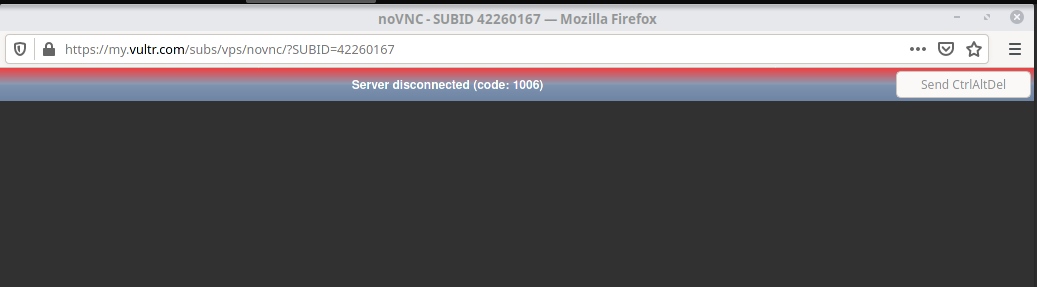
-
Click on the Console button on the top of the instance detail screen.
- If you changed back to the instance list, you can access the console as mentioned in step 14.
- If you changed back to the instance list, you can access the console as mentioned in step 14.
-
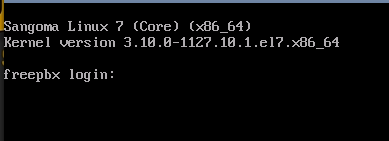
You will see the instance has booted normally.
-
You will now switch to the FreePBX Standard Setup Part 1: Command Line guide.
-