FreePBX Standard Setup Part 1: Command Line
-
Sangoma continually updates FreePBX.
Because of that, this guide will generalize some terms where possible.
Screens may differ after an update.
If your method for accessing the console does not allow you to copy and paste into the console, then we strongly recommend that you use SSH, as the root user, for this initial setup.
This process requires that you have created a SSH keypair for secure login to Linux systems.
If you need instruction for that see: Creating an ed25519 key in Windows 10
-
However you installed FreePBX from the ISO, when that installation completes, the console screen should be waiting for a log in.
- The only login available immediately after installation will be the root user.
- You can log in to the console or via SSH. Be aware of the notice above about copy and paste.
- On the Console, enter
rootfor the login and hit enter. - Enter the root password you set during installation, the password will not be echoed back, then press enter.
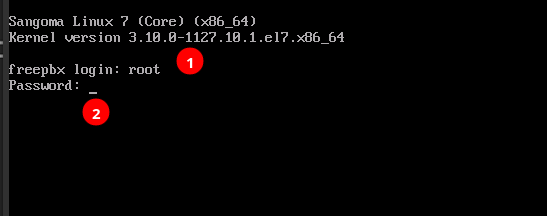
- Or log in initially via SSH.

- On the Console, enter
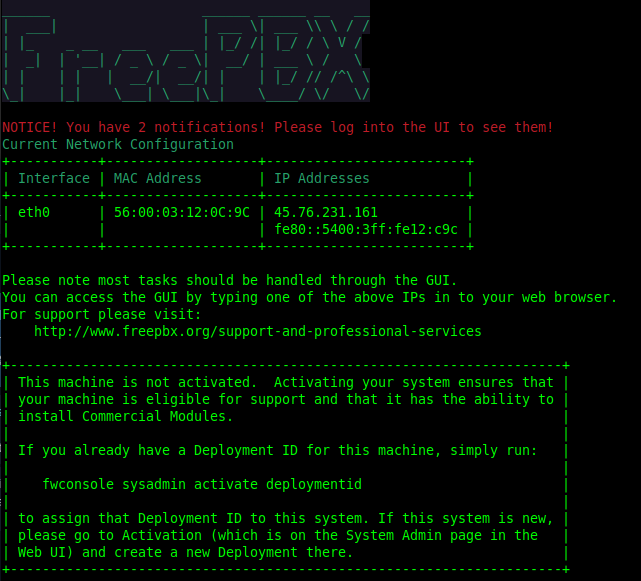
- Either way you will be greeted by the standard FreePBX message of the day (MOTD).
-
The first thing to do is to secure SSH. This is accomplished by:
- Creating a non-root user with administrator rights (sudo).
- Disabling the ability of the root user to log with the SSH protocol.
- Disabling the ability to log in with a password.
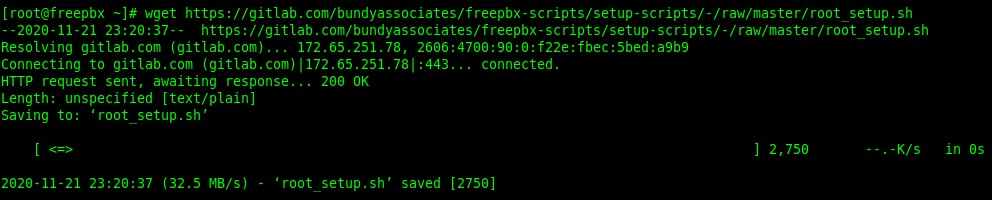
- We have created a script to handle this initial root setup process. If you want to do it manually, please read the script to see how we did it.
-
Execute this command to download the script from our public GitLab with this command:
wget https://gitlab.com/bundyassociates/freepbx-scripts/setup-scripts/-/raw/master/root_setup.sh
-
Set the downloaded script to be executable:
chmod +x root_setup.sh

-
Execute the script:
./root_setup.sh- It will prompt for your SSH username
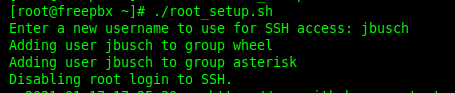
- Then tell you to log out.

- It will prompt for your SSH username
-
Logout of the root session by entering:
exit -
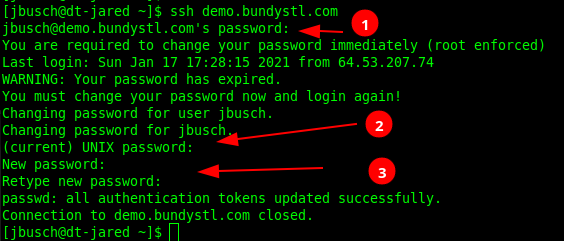
Log in as the user you just created. You will be forced to update your password.
- Your current password is:
ChangeMe - Your new password can be whatever you want, try to be a bit secure about it.
- You will enter
ChangeMeonce to log in. Then again as the "current password" to be changed. - It will automatically log you out after changing your password.
- Your current password is:
-
Before logging back in, you need to copy your SSH public key to the system.
The command to do that is:ssh-copy-id [email protected]
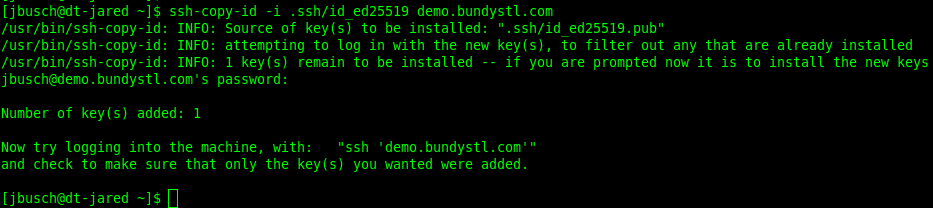
I have multiple keys on my system, so I need to specify the key I want to use with the-ioption. -
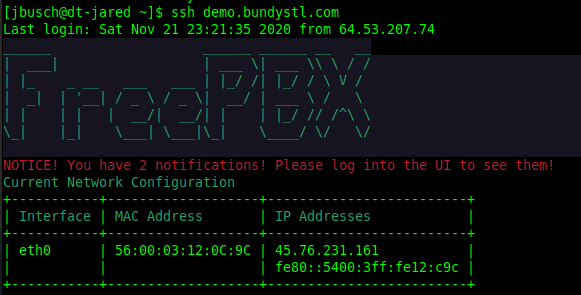
Log in via SSH again, it will not ask for a password.
-
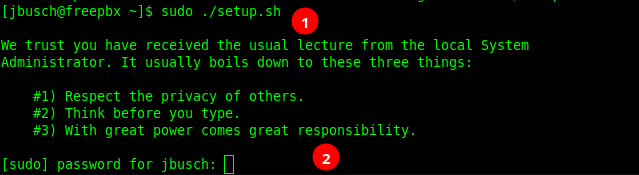
Execute, with sudo, the setup script that was pre-downloaded during the root setup.
sudo ./setup.sh -
You will be prompted for your password in order to execute the commands in the script with sudo access.
-
Get a coffee, this will take a while to finish.
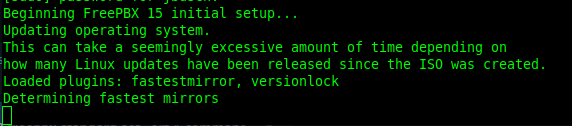
- Especially if the updates include a new Linux kernel.

- Especially if the updates include a new Linux kernel.
-
When completed, it will tell you to reboot and go to the web interface to complete the setup.

-
Reboot the system as instructed
sudo reboot

-
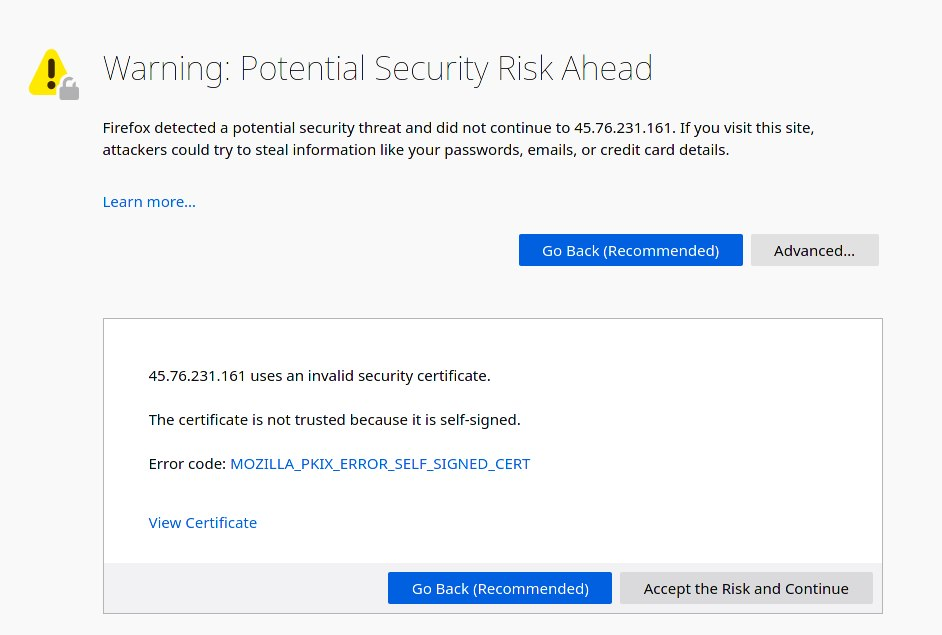
Wait for the reboot to complete and then go to the web interface as previously instructed to complete the setup.
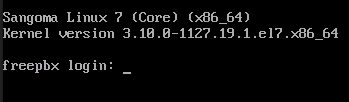
- You know the reboot is complete when the console screen returns to this.
- Be prepared for warnings about insecure connections the the web interface. Part of the GUI process will be to create a valid SSL certificate.
- You know the reboot is complete when the console screen returns to this.
-