FreePBX Standard Setup Part 2: Initial GUI Wizard
-
Sangoma continually updates FreePBX.
Because of that, this guide will generalize some terms where possible.
Screens may differ after an update.
-
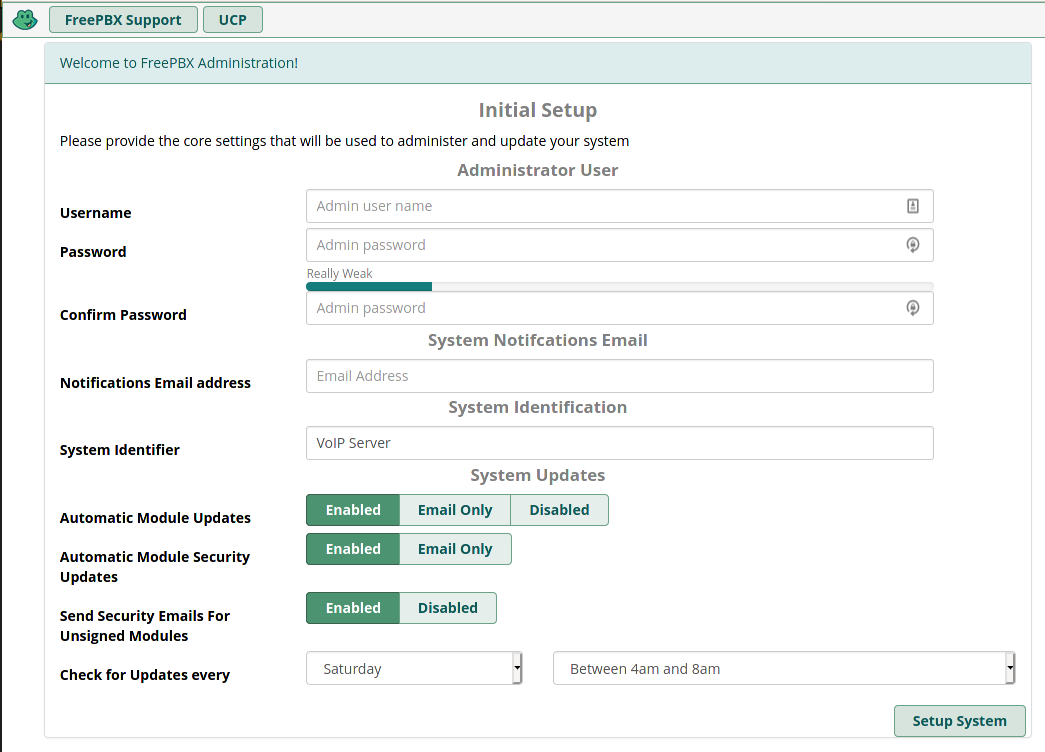
Upon first log in to the web interface, you will be presented with this screen to create the initial admin user account.
-
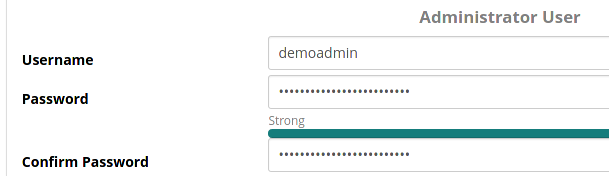
Create a username and secure password.
-
Enter an email address for the user. This can be changed later if needed.

-
Give the system a name. This will used in various system emails that are generated, as well as in voicemail notification emails.

-
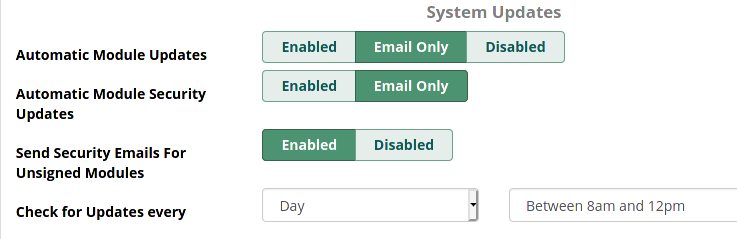
Change the update settings as desired.
We recommend not using automatic updates, but instead actively updating things monthly. Enable email notification, in order to be made aware of anything important.
Finally, set it to check daily in the morning. You don't need yet another system email coming in over night when sleeping.
-
Click Setup system
-
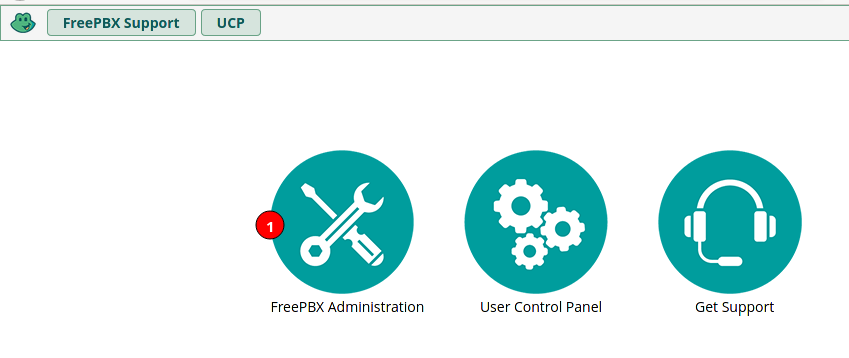
The system will apply the settings and you will be presented with the standard FreePBX home screen. Click on FreePBX Administration.
-
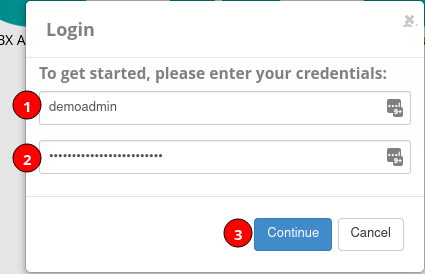
Enter your just created administrator log in and click continue.
-
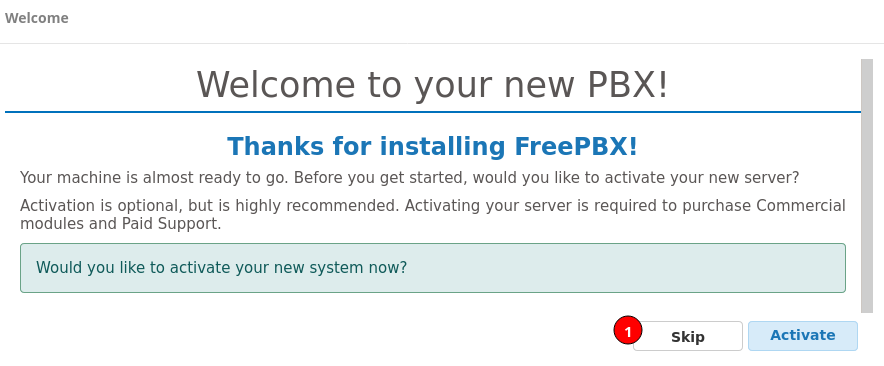
You will be asked to activate your system. There is no cost to it and you will want your system activated, but this screen has been intermittently buggy. Click Skip, you will activate it later.
-
Now you will get a couple screens of advertisement for Sangoma owned products. Click skip on each of them. If you want the product you can order it later.


-
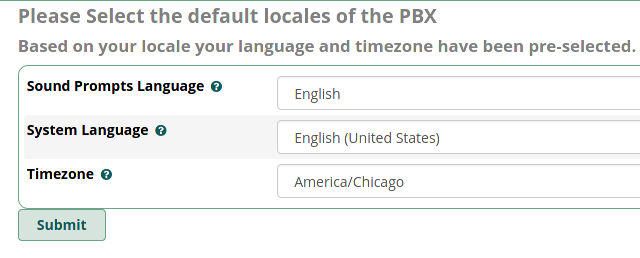
Set your default locale information as appropriate for your needs.
-
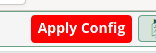
The red Apply Config button will appear at the top, ignore it for now.
-
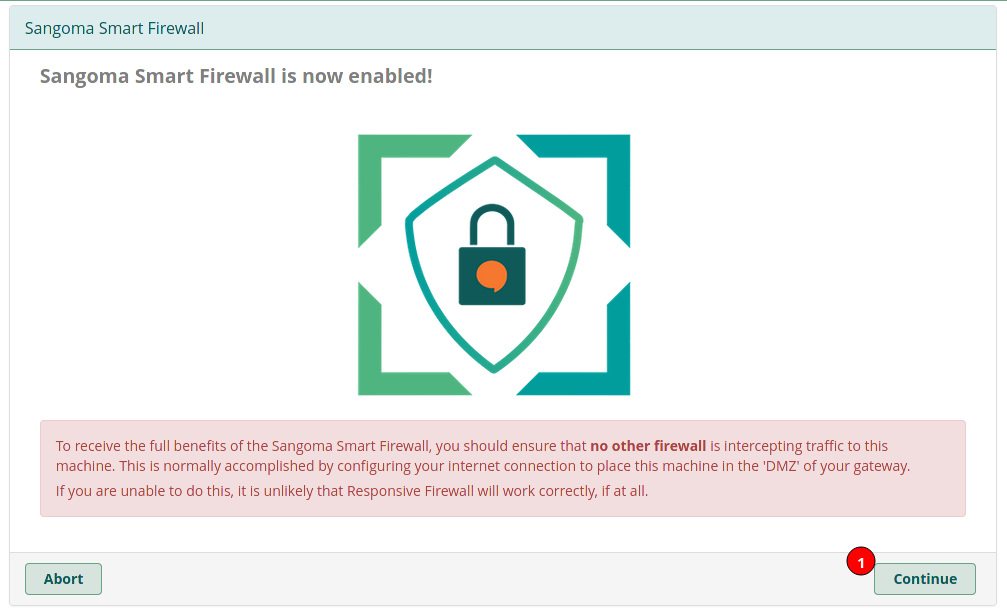
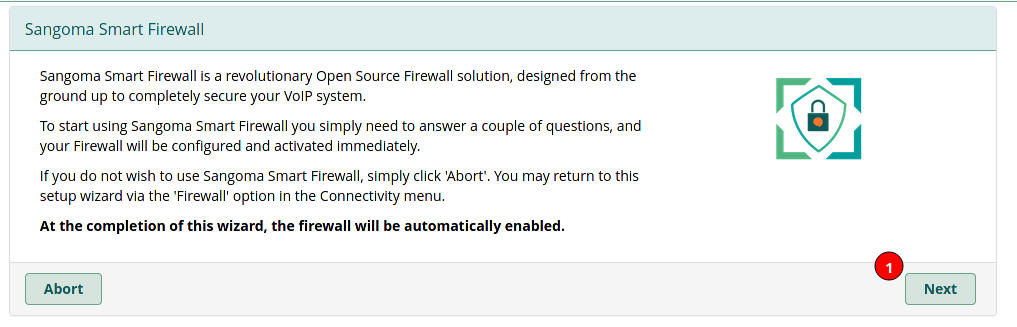
The system will now ask you to setup the built in firewall. We alays recommend this be enabled. Even if your system if behind a hardware firewall and NAT. Click continue.
-
Click Next.
-
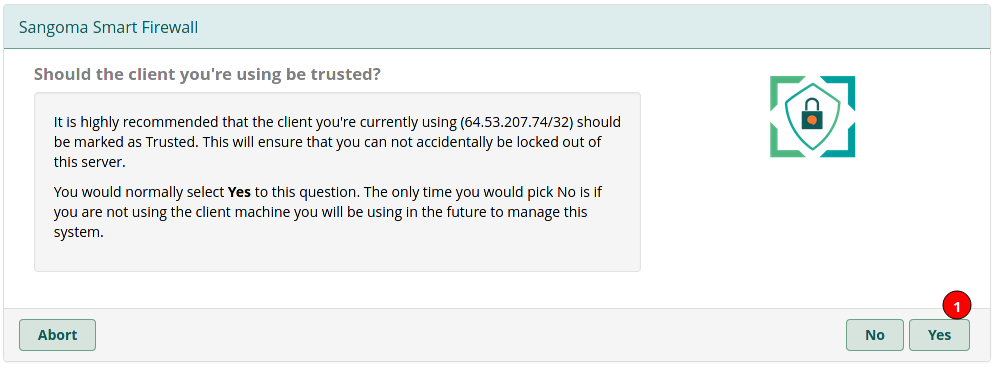
Click Yes here, or you can lock yourself out during the initial setup. This will be modified later.
-
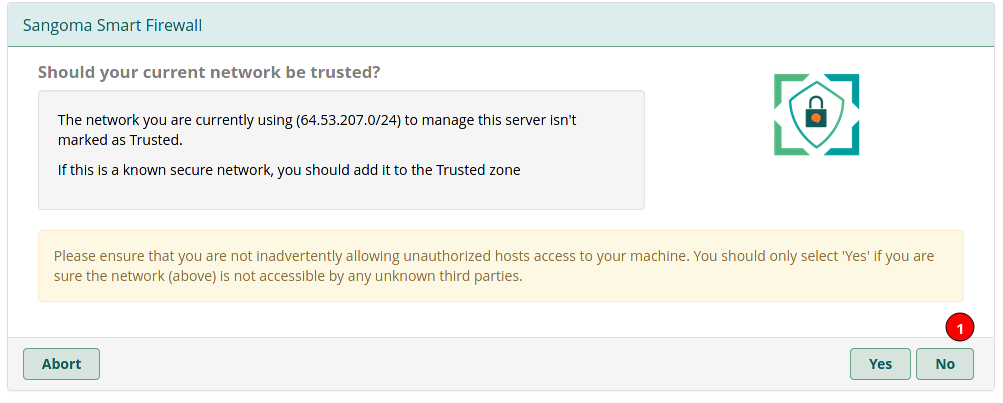
Click No here, even if you are on a local LAN that you want trusted. For now, you only care that the computer you are doing the setup from is allowed access.
-
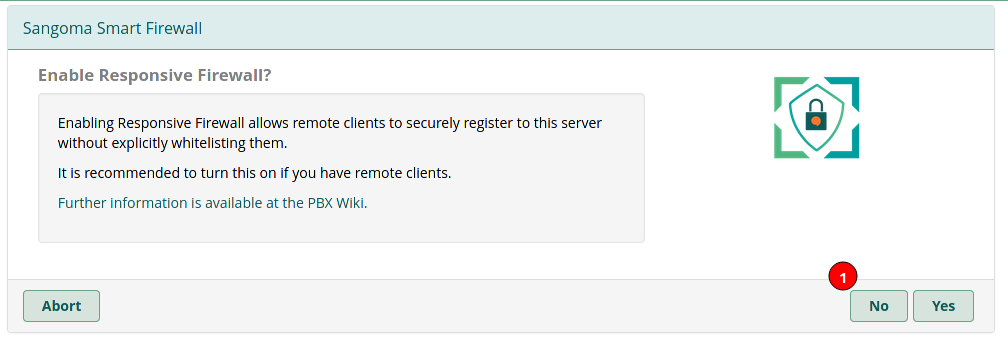
Click No to the responsive firewall. This is a very useful tool depending on your needs. It is something to configure later, not during initial setup.
-
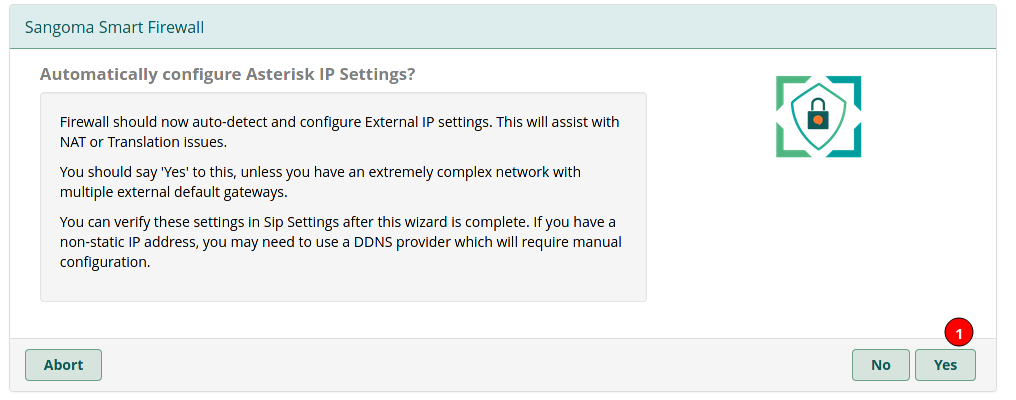
Click Yes here, to let the system correctly setup your Asterisk settings. They can be changed later, but this is the easiest way to get it right for most people.
-
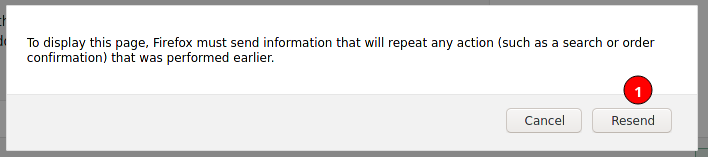
If your browser pops up a warning about resending, click resend.
-
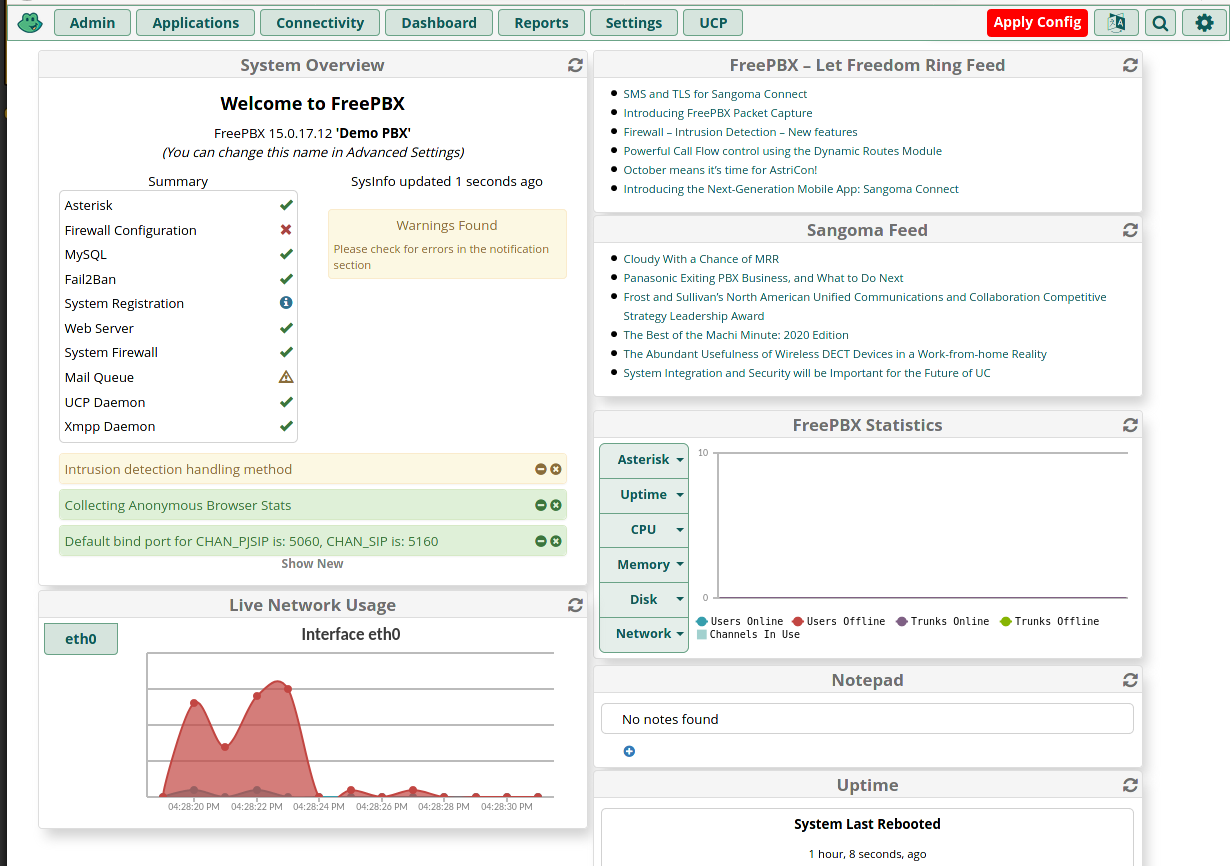
At this point the FreePBX dashboard will load.
-
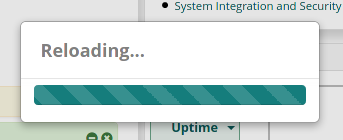
Now click the Apply Config button.
-
You will see a reloading screen.
-
You have completed the Initial GUI wizard. Welcome to FreePBX.
-