Creating an ed25519 SSH key in Windows 10
-
There are many reasons that you may need an SSH key setup on your system. Some of the most common reasons are connecting to
gitrepository and connecting to a Linux server.This used to be a painful process, as Microsoft did not include
OpenSSHin the operating system. Thankfully they rectified that over a year ago.As long as you are running an up to date version of Windows 10, you will have no problems following along.
-
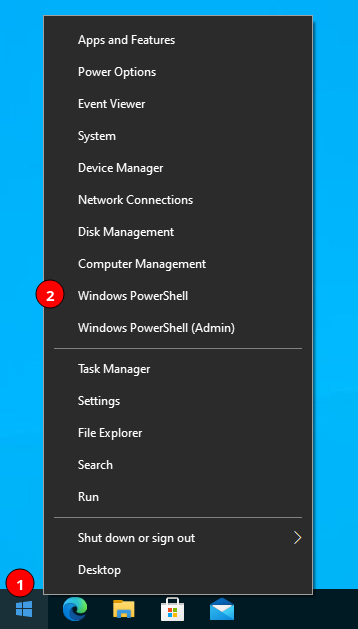
Right click on the start button and choose
Windows PowerShell- If your system says
Command Promptyou are either not up to date, or you intentionally changed it back.

- If your system says
-
In the powershell windows, run the
ssh-keygencommand as follows:- The
-t ed25519tell it which algorithm to use. - The
-C "Work Computer"is a comment that makes it easy to know what a key was created on. Update appropriately.
- The
ssh-keygen -t ed25519 -C "Work Computer"- It will prompt where to save the file. You will almost always want to use the default. Just press enter to accept the default.

- It will ask for a passphrase. Generally, I do not set a passphrase on my SSH keys, but there are valid reasons to do so depending on your environment. Press enter again for no passphrase.

- It will ask you to confirm the passphrase, even if you left it blank. Press enter again.

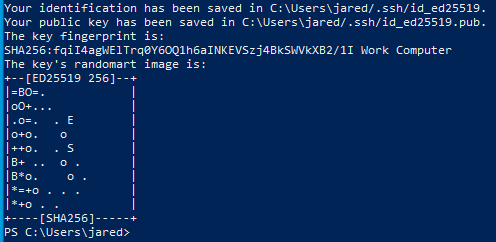
- It will then create your key and spit out some information about the key. Congratulations, you now have an SSH keypair available for use.

This is why I recommend the
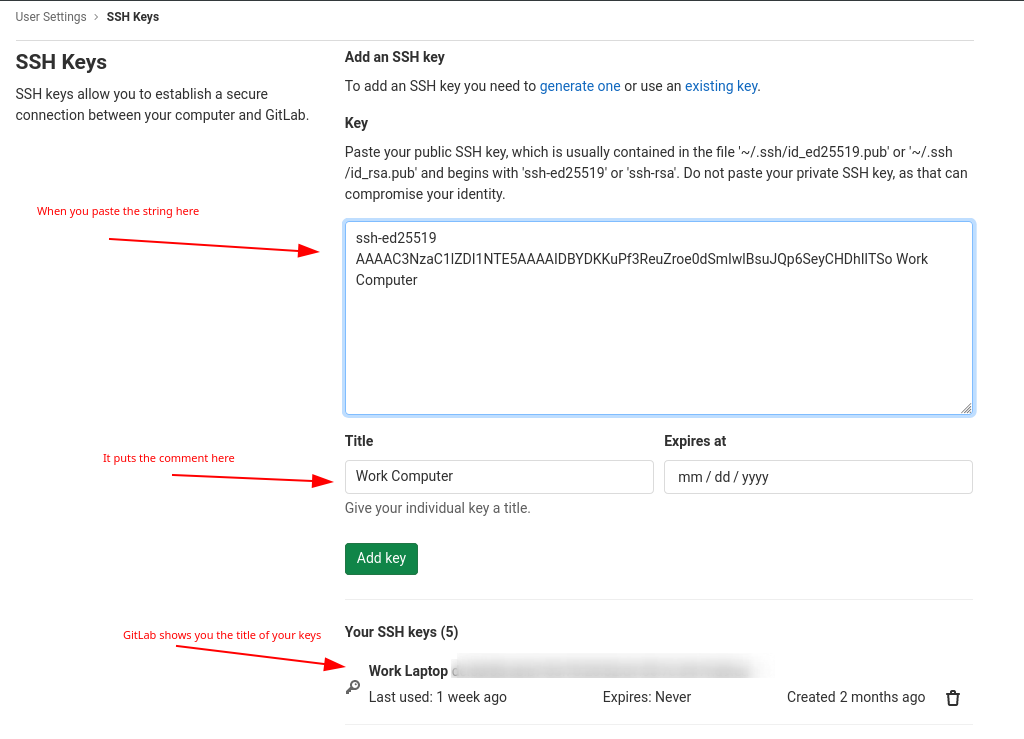
-Ccommand in the key generation. It puts whatever was in the comment out at the end of the public key string.

This useful when you add the key to things like GitLab. It will automatically title the key with that comment.

-