Create the Skyetel Outbound Trunk for International
-
To enable your system to make international calls, you will need a third trunk. This time duplicate the outbound trunk.
-
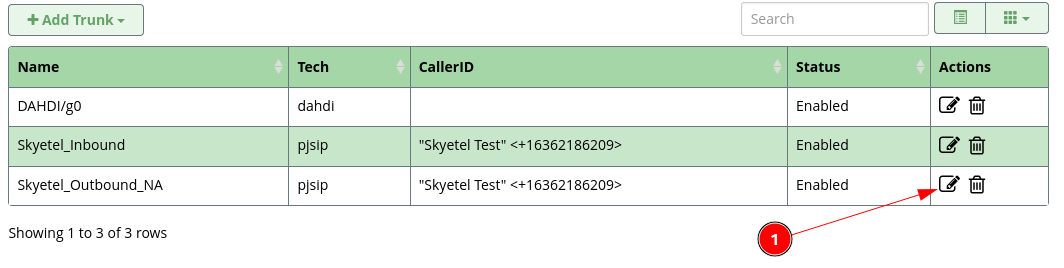
Click the edit icon
 to the right of the
 Skyetel_Outbound_NAtrunk.
-
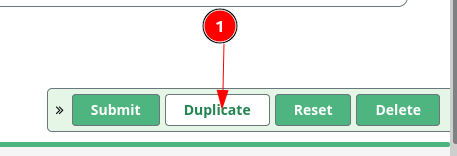
Click the
Duplicateat the bottom of the screen.
-
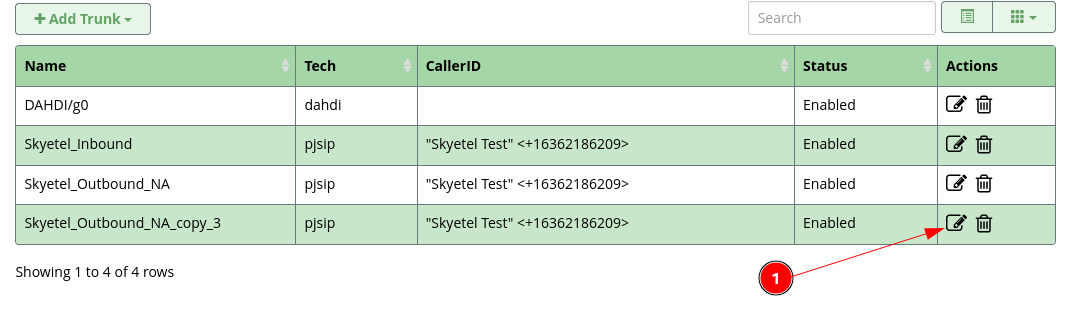
Now you can click on the edit icon
of the duplicated trunk, currently named Skyetel_Outbound_NA_copy_3.
-
On the
Generaltab, change theTrunk NametoSkyetel_Outbound_International.

-
Switch to the
PJSIP Settings->Generalsub tab and change theSIP Servertohc.skyetel.com

-
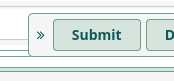
Click on the
Submitbutton.
-
Click on the
Apply Configbutton.
-
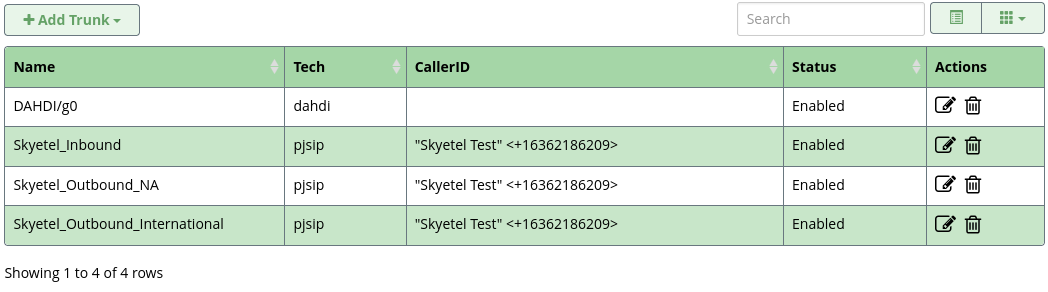
You will see your trunk listed in the list and show as
Enabled.
-